Taking the appropriate steps to properly edit a blog post is often overlooked or rushed through. That is a mistake. Nobody will take an article seriously if it has a lot of spelling or grammar mistakes. Proper editing gives people confidence in your work and develops trust with your audience.
When editing a post, I focus on two main things. The first is the actual content. This includes spelling, grammar, sentence structure, etc. Typical editing stuff. The second is what “should” be in the post. These are things like keywords, graphics, and links. You can write the perfect post, but it’s not complete if you reference a graph… and forget to include an image or link to the graph.
Now that we have a better understanding of why we edit, let’s get into how we do it!
1) Edit Big Picture First
Before you start checking grammar, spelling, and punctuation, look at the big picture. Big picture things are structure, flow, completeness, and readability.
- Structure– Does the article structure stay consistent throughout? If your post is a listicle, keep it a listicle. Don’t switch to a case study in the middle.
- Flow– The article should be easy to read. One section should naturally transition to the next. Stick with the logical progression of your article.
- Completeness– Did you cover all the relevant information? You want to make sure your piece is complete. Your readers shouldn’t finish and still have questions.
- Readability– Make sure you’re using the appropriate headings and paragraph size. Most people scan content. Don’t give them big blocks of text. They won’t read it. Keep your paragraphs short and manageable.
2) Check Your SEO
Is SEO REALLY part of editing a blog post? Yes, it absolutely is. We write blog posts with the hope that people will read them. Your post is not complete until it is optimized for SEO.
There are a couple things you want to pay extra attention to:
- Do you have a title that grabs attention?
- Do you use keywords and long-tail keywords in your content?
- Do you have H1, H2, and H3 headings?
- Do you have internal and external links?
To make sure you’re really optimizing for SEO, you will need to use an SEO tool. Here are a couple of the best tools out there.
Rank Math

Rank Math very good SEO tool at a reasonable price. They have plans starting at $59/YEAR
3) Use A Proofreading Tool
The spell check on Microsoft Word is not a good enough proofreading tool. If you took the time to research and write content, you should take the time to properly proofread it. There are several options available, but Grammarly is easily the best.
As a test, I found an online article that I knew had issues. I had read it while researching a different post and made a note. For the test, I copied the text and ran it through both Word and Grammarly. Microsoft Word found 12 errors in the text. Grammarly found 105.
I expected some deviation, but that was pretty incredible.
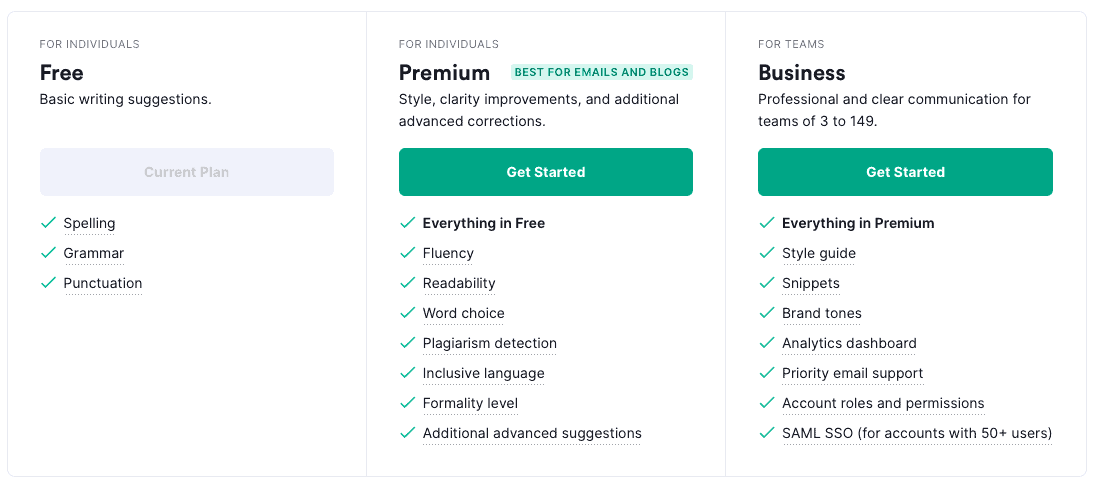
Grammarly has a couple of versions available, two of which pertain to most of us. The free version checks spelling, grammar, punctuation, conciseness, and tone. They have made it very easy to upload, edit and download your revised article, so the process is a breeze.
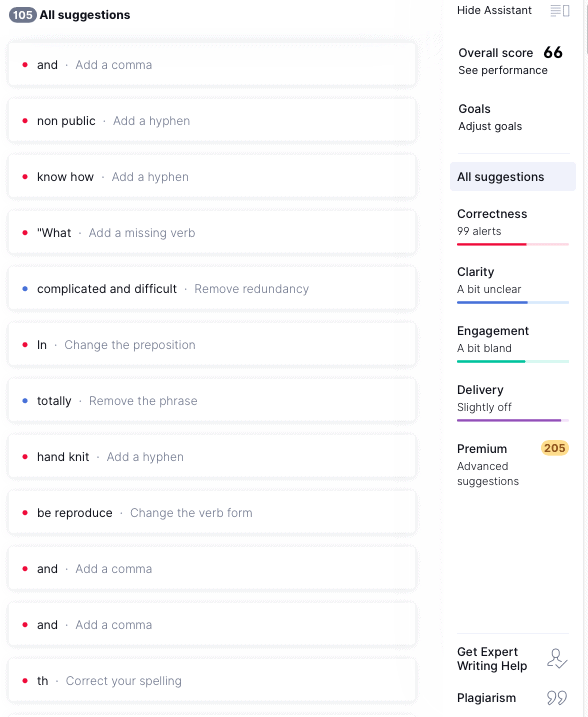
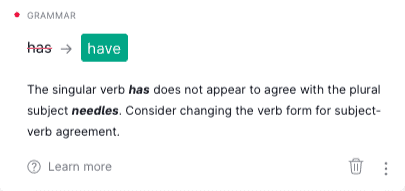
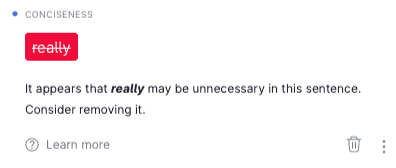
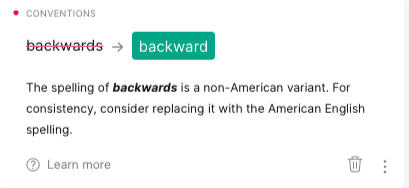
Grammarly also offers a Premium Plan for $12/month (if billed annually). The Premium Plan has a lot of extra tools that take a more in-depth look at your writing. Both the free and Premium plans will improve your writing and correct the errors missed by Word.
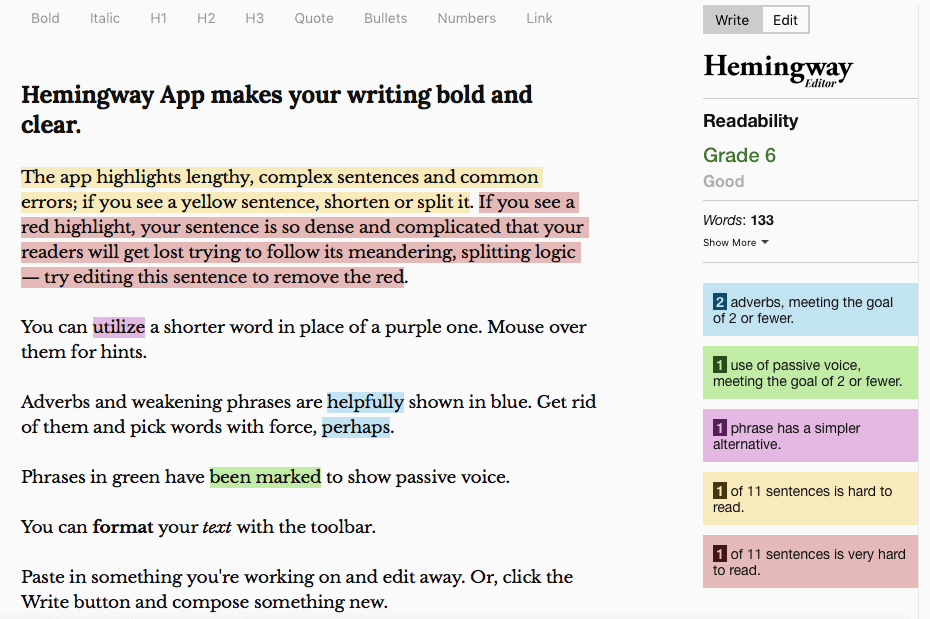
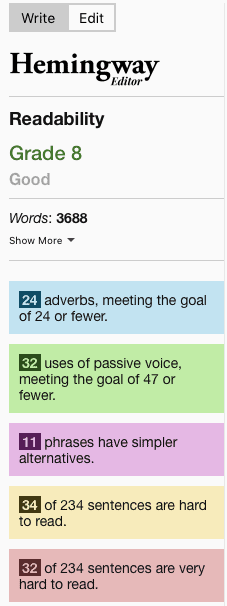
Another tool I use is the Hemingway Editor. The Hemingway Editor is more about the readability of an article. I ran the same text from my Microsoft Word test through the Hemingway App. It found that over 25% of sentences were either “hard to read” or “very hard to read.” I would agree with that assessment. It was difficult to read and understand. The Hemingway Editor would have made a big difference in the quality of this particular article.
4) Check and Test Links
Including links in your content makes your content stronger. You will want to make sure your post has both internal and external links where appropriate. Once you know you have the links, give them a click to make sure they work.
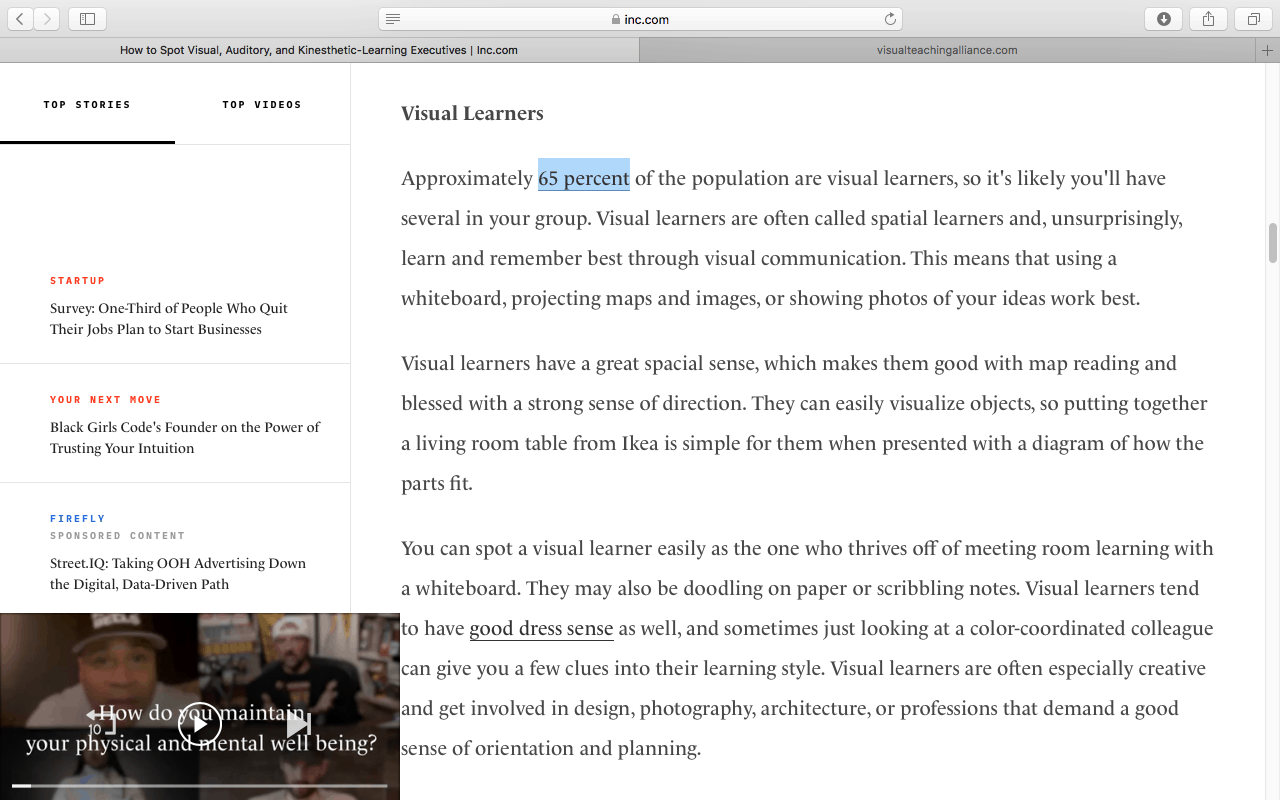
You will also want to check your product or affiliate links. It would be a shame to miss out on revenue because the link is missing or doesn’t work.


5) Add the Graphics
Graphics are a good addition to any post. We know attention spans are next to nothing these days. If someone opens your article and only sees blocks of text, it’s unlikely they will read the content. Graphics help break up the material.
A couple good tools for this are Canva and Unsplash.
Canva is a graphic design site similar to photoshop. The big difference is Canva has a very generous free version. They have templates for almost any content type and offer a lot of free elements to get you started. I have a little overview on how to sign up and navigate around Canva. This should help get you started.
Unsplash is another free tool. Unsplash lets you download royalty-free images that can be used on your site. If you need an image, give Unsplash a try.
6) Check Your Call to Action
If you wrote an article, there needs to be a call to action. Your call to action tells your readers where to go and what to do next. I would recommend having a lead magnet. I have an article that goes through some of the most effective lead magnets. If you aren’t familiar with lead magnets, I recommend you read that article because lead magnets are a great way of growing your e-mail list and income.
7) Publish it
By this point, you’ve done just about everything you can. You’ve used the tools available to make your post as strong as it can be. We want our articles to be nearly perfect, but not at the expense of stressing over every word or comma. Where you are now is much better than where you were before editing. Your article is stronger. You have links that work. Your images will grab attention. SEO will do its thing because you’ve optimized for it. The call to action will build your list. You’re in a good place. Publish that bad boy.
8) Last review
After publishing, it’s a good idea to glance at the live post. Most of the time everything is good. Sometimes you find a little quirk here or there. I’ve found glitches that caused text and images to overlap. Or paragraphs that had an extra space between them. Silly things that take about 3 seconds to fix. This step should only take you a couple of seconds.
You're All Done
That’s all. You did it. By following these 8 tips you now have a post that is the best it can be. If you follow these tips on every post, you will start growing your audience in no time! Now, on to the next one!


